
Keeping a processor cool is one of the most overlooked aspects of building or upgrading a computer, yet it can make or break your overclocking ambitions. Whether you are squeezing extra performance out of your rig or simply reseating a cooler, the humble tube of thermal paste plays a starring role in how well your system behaves under pressure. This guide walks through the entire process, from preparation to application, so you can achieve reliable temperatures without any guesswork.
The essentials
- Thermal paste acts as a conductive bridge that fills microscopic imperfections between the CPU and heatsink, ensuring efficient heat dissipation during overclocking.
- Old thermal residue must be thoroughly removed using isopropyl alcohol and a lint-free cloth to create a clean, effective surface for the new application.
- The recommended method for application is to place a small, rice-sized dot of paste in the center of the CPU, allowing cooler mounting pressure to spread it naturally.
- Manual spreading of the paste should be avoided to prevent the introduction of air bubbles that can negatively affect thermal transfer.
- Tightening the cooler requires applying even, balanced pressure across all sides to ensure a uniform layer of paste and prevent hotspots.
- Excessive paste application can be harmful, potentially leading to messy spills, interference with motherboard components, or the creation of insulating air pockets.
- Thermal paste degrades over time, so it should be replaced during component upgrades or if the system exhibits unexpectedly high operating temperatures.
Understanding thermal paste and preparing your cpu
The Role of Thermal Paste in Heat Transfer and Overclocking Performance
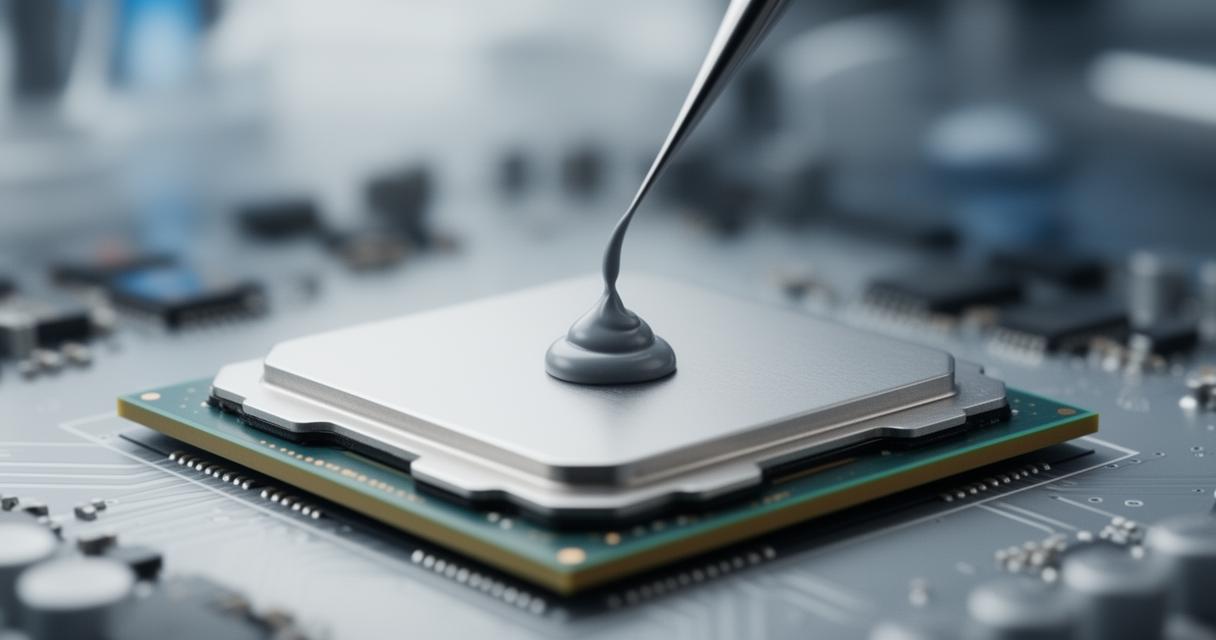
At its core, thermal paste exists to fill the microscopic gaps between the surface of your CPU and the base of the heatsink. Even surfaces that look perfectly smooth to the naked eye are actually covered in tiny imperfections, and air trapped within those gaps is a poor conductor of heat. By applying a compound with excellent thermal conductivity, you create a bridge that allows heat to move efficiently away from the chip and into the cooler, where it can be dissipated. This becomes especially important when overclocking, since pushing your processor beyond its default settings generates considerably more heat, and any weak link in the cooling chain can lead to thermal throttling or instability. A well-applied layer of paste, paired with a capable cooler, gives your system the breathing room needed to sustain higher clock speeds without tripping safety limits.
Cleaning Your CPU and Heatsink with Isopropyl Alcohol
Before any fresh paste goes anywhere near your processor, it is essential to remove whatever residue might already be sitting there. Old, dried-out paste can be crusty and uneven, and applying new compound on top of it will only compromise the seal you are trying to create. The most reliable way to strip a surface clean is with isopropyl alcohol and a lint-free cloth or coffee filter, both of which will help avoid leaving fibres behind. Gently wipe both the CPU's integrated heat spreader and the base of the heatsink until they are free of grime, oils and old paste residue. Allow the alcohol to fully evaporate before moving on, as any dampness left behind could interfere with how the new paste settles. Taking a few extra minutes here pays dividends later, since a properly cleaned surface is the foundation for even, effective heat transfer.
Mastering the Application Technique for Optimal Cooling
Determining the correct amount: the rice grain method
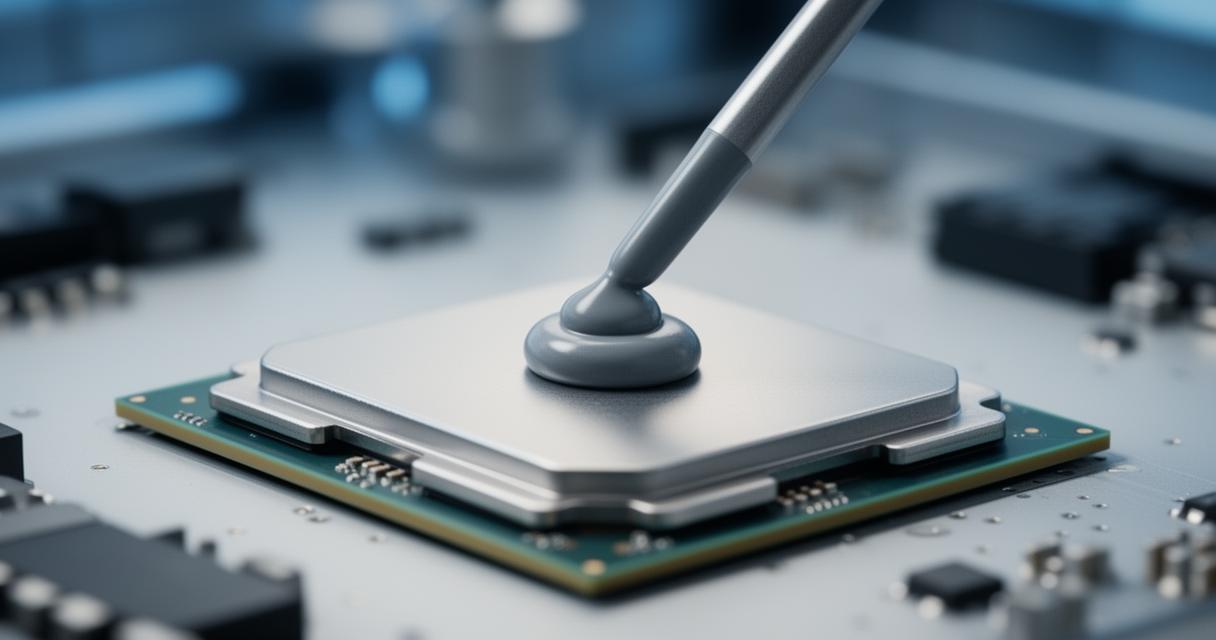
One of the most common questions among builders is simply how much paste to use, and the answer is usually less than people expect. A small dot roughly the size of a grain of rice placed in the centre of the CPU is generally sufficient for most consumer processors. This modest amount allows the pressure from mounting the cooler to spread the compound naturally across the surface without pushing excess paste out over the edges. It is worth checking guidance specific to your motherboard and cooler, since larger chips or unconventional cooler designs might call for a slightly different approach, such as a thin line down the centre rather than a single dot. Manufacturers often include recommendations in their packaging, and following these tailored instructions will help you strike the right balance for your particular setup.
Ensuring even distribution across the cpu surface
Once the paste is in place, resist the temptation to spread it manually with a card or your finger. In most cases, simply lowering the heatsink onto the CPU and securing it with even, consistent pressure is enough to let the compound spread naturally into a thin, uniform layer. This method reduces the risk of introducing air bubbles, which can happen when paste is manually smoothed across the surface. When tightening the cooler, whether it uses screws, clips or a backplate system, aim to apply pressure evenly on all sides rather than tightening one corner fully before moving to the next. This gradual, balanced approach helps the paste settle uniformly and ensures that no section of the processor is left with a thicker or thinner layer than the rest, which could otherwise create uneven hotspots during heavy workloads.
Avoiding common mistakes and maintaining your system
Preventing overheating by avoiding excess paste application
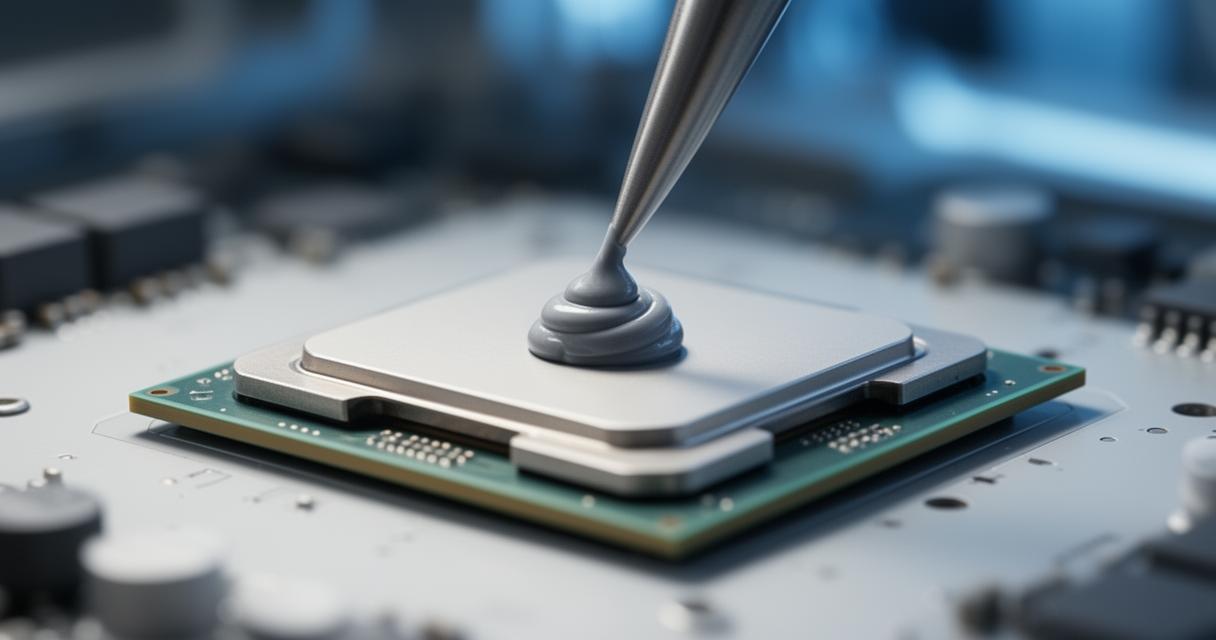
It might seem logical to assume that more paste means better cooling, but this is one of the most persistent myths in PC building. Applying too much compound can actually work against you, as excess paste may ooze out from beneath the heatsink and, in worse cases, spill onto surrounding motherboard components. Since many thermal compounds are electrically conductive, this can pose a genuine risk to your hardware. Overapplication can also create an uneven thermal barrier, trapping air pockets that reduce the paste's effectiveness rather than enhancing it. Sticking to the recommended small amount, and trusting the mounting pressure to do the spreading, remains the safest and most effective strategy for keeping temperatures under control, particularly for anyone pushing their CPU through demanding overclocking sessions.
When to replace thermal paste during component upgrades
Thermal paste does not last forever, and its performance gradually degrades as it dries out over time. If you are upgrading your cooler, swapping your processor, or simply performing routine maintenance after a few years of use, it is wise to remove the old paste entirely and apply a fresh layer rather than reusing what is already there. Signs that a reapplication is overdue include unusually high idle temperatures or a system that seems to run hotter than it once did despite no changes to your usage habits. Taking the time to refresh your thermal compound during any upgrade ensures your cooling solution continues to perform as intended, protecting your investment in both your processor and cooler while keeping your system stable for whatever tasks or overclocks you throw at it.