Riding after dark or through grim weather brings its own set of challenges, and one of the simplest upgrades a rider can make is fitting long-range lights to their motorcycle. These auxiliary lamps throw a beam far beyond what a standard headlight can manage, giving you precious extra seconds to spot hazards on the road ahead. Whether you're touring country lanes at night or commuting through foggy mornings, understanding how these lights work, how to fit them properly, and what the law says about using them will help you get the most from this popular upgrade.
At a glance
- Long-range LED lights significantly improve rider safety by extending visibility beyond the reach of standard headlights, helping to identify hazards earlier.
- LED technology is superior to halogen bulbs because it offers higher clarity, consumes less power, operates at cooler temperatures, and has a longer lifespan.
- To protect the motorcycle's electrical system, auxiliary lights should be wired directly to the battery using a relay rather than tapping into existing circuits.
- Proper installation requires securing cables away from heat and moving parts, along with using appropriately rated fuses to prevent electrical fires and faults.
- A dedicated handlebar-mounted switch is essential for safely controlling the auxiliary lights without distracting the rider while in motion.
- Riders must ensure their auxiliary lights comply with legal regulations, such as specific color requirements and correct beam aiming, to avoid dazzling other road users.
Understanding Long-range LED Lights: Benefits and Practical Applications for Motorcyclists
Long-range lights, often called auxiliary or spotlights, are designed to extend your field of vision well beyond the reach of a factory headlight. For motorcyclists, this extra reach can be the difference between spotting a pothole or a stray animal in good time and being caught out at the last second. Many riders fit these lights specifically for touring, off-road adventures, or simply for added peace of mind during winter commutes when daylight hours are short.
Enhanced Visibility and Safety Advantages of LED Long-range Lighting
The main draw of LED lighting is the sheer clarity and reach it offers compared with older setups. A good pair of long-range lights can illuminate the road surface and verges far ahead, helping you anticipate bends, junctions, and obstacles well before they become a problem. This is particularly valuable on unlit rural roads, where a motorcycle's narrow profile already makes it harder for other drivers to see you coming. Beyond simply lighting your own path, brighter and more focused lighting also improves your visibility to oncoming traffic, which is a genuine safety consideration worth factoring into any lighting upgrade.
Comparing led technology to traditional halogen motorcycle headlights
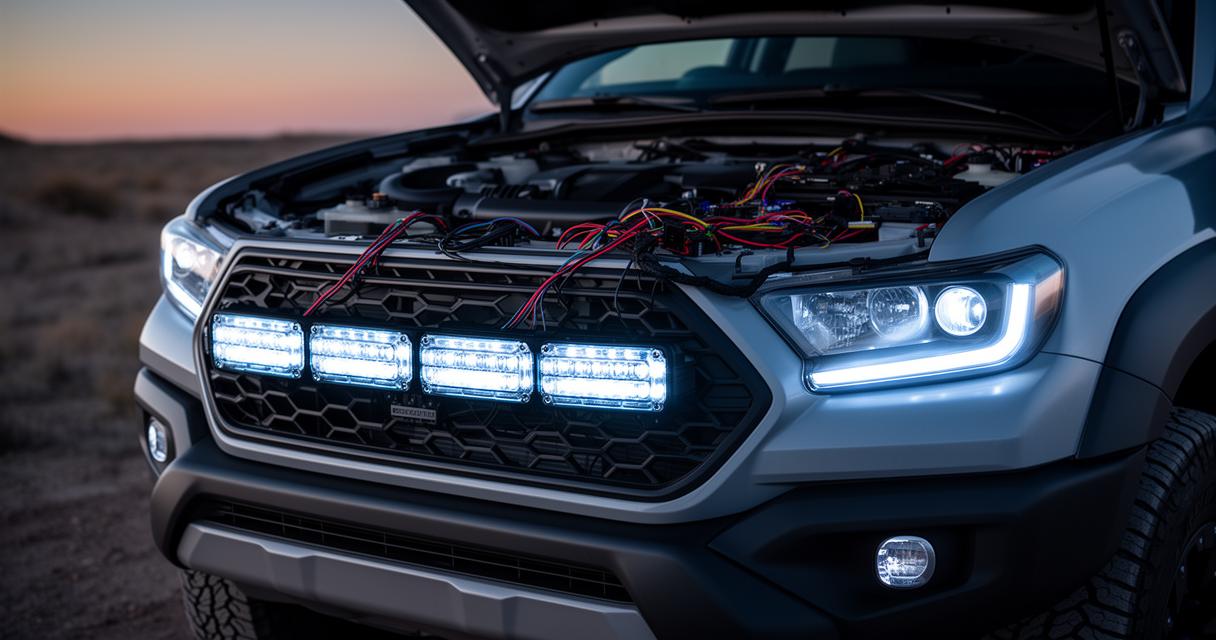
Older halogen bulbs have served riders well for decades, but they fall short in several respects when placed side by side with modern LED units. LEDs draw considerably less power from the electrical system, run cooler, and last far longer before needing replacement. The beam pattern from quality LED units also tends to be crisper and whiter, closer to daylight, which reduces eye strain on long night rides. Halogen bulbs, by contrast, produce a warmer, more diffuse light that doesn't project as far and tends to degrade in brightness as the bulb ages. For anyone weighing up headlights for motorcycles as part of a broader lighting upgrade, LEDs represent the more future-proof choice, even if the initial outlay is slightly higher.
Step-by-Step Guide to Installing Long-range LED Lights on Your Motorcycle
Fitting auxiliary lights isn't a particularly daunting task, but it does require patience and attention to detail. Rushing the job or cutting corners on the electrical side is the quickest way to end up with flickering lights, blown fuses, or worse, a drained battery on a roadside verge. Taking the time to plan the mounting position, cable routing, and power connection properly will save considerable hassle down the line.
Connecting led lights to your motorcycle battery: proper assembly techniques
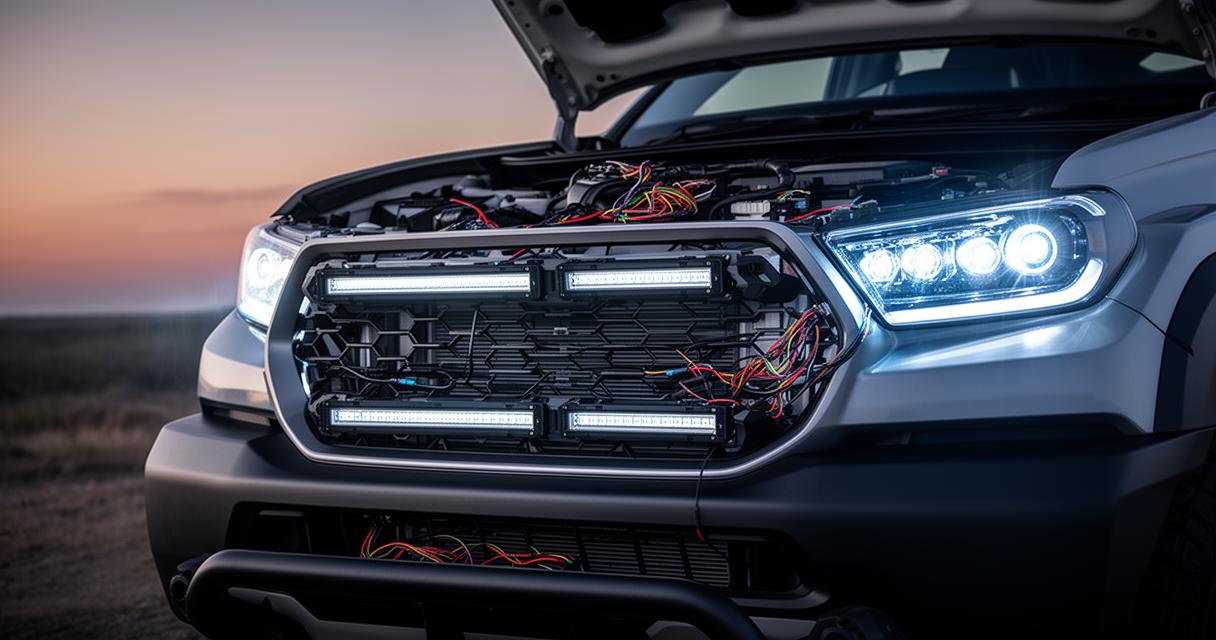
When it comes to connecting to battery sources, most riders wire their auxiliary lights directly to the battery terminals via a relay, rather than tapping into an existing circuit. This approach prevents overloading the original wiring loom, which was never designed to carry the extra current that additional lights demand. The relay itself should be mounted somewhere dry and protected from vibration, and all connections should be soldered or crimped securely before being wrapped in heat-shrink tubing to keep moisture out. Route the cables away from hot engine parts and moving components such as the chain or suspension linkages, securing them at regular intervals with zip ties so nothing rubs loose over time.
Fitting Switches and Fuses for Safe and Reliable Operation
No installation is complete without proper switches and fuses in the circuit. A dedicated switch, ideally mounted within easy reach of the handlebars, allows you to turn the auxiliary lights on and off without fumbling around while riding. The fuse, meanwhile, is your safety net against electrical faults; it should be rated appropriately for the current draw of your specific lights and placed as close to the battery as practical. Skipping this step in the name of saving time is a false economy, since a short circuit without a fuse in place can quickly become a fire risk. The importance of proper assembly cannot be overstated here, as a neat, well-protected wiring job will serve you reliably for years, whereas a rushed one is likely to cause problems within a matter of months.
Legal requirements and road communication when using motorcycle long-range lights
Adding extra lighting to your bike isn't simply a case of bolting on whatever looks good and wiring it up. There are legal boundaries around how these lights can be used, and there's also an unwritten code of conduct among riders and drivers alike regarding when and how to use your lights on shared roads.
Uk regulations governing motorcycle lighting and long-range headlights
Under UK regulations, auxiliary driving lights must be fitted and aimed correctly so they don't dazzle oncoming traffic, and they generally need to be used in conjunction with, rather than instead of, your main headlight. The rules also stipulate that lights must be positioned symmetrically and within specific height and colour parameters, with white or pale yellow being the only acceptable shades for forward-facing lamps. Riders planning a lighting upgrade should check current MOT guidance to ensure their setup remains compliant, since non-standard lighting can result in an MOT failure or even a roadside fine if an officer deems the lights to be a hazard to other road users.
Proper road etiquette: messaging and communication using your motorcycle lights
Beyond the legal side, there's a long-standing tradition among motorcyclists of using headlight flashes as a form of communication. A quick flash might warn an oncoming rider of a speed check ahead, or signal to a car that you're giving way at a junction. This kind of messages and communication on the road relies on mutual understanding rather than any official rulebook, so it's worth being cautious about assuming every flash means the same thing to every driver. Using your long-range lights sparingly and considerately, particularly around other road users at night, keeps the goodwill of this tradition intact while ensuring you're not inadvertently causing glare or confusion. Ultimately, a thoughtful approach to both the legal and social side of motorcycle lighting means you get the full benefit of your upgrade without becoming a nuisance or a hazard to those sharing the road with you.