Dealing with a stubborn immobiliser fault on a Renault Clio 2 can turn a simple morning commute into a frustrating ordeal, especially when the engine refuses to turn over despite the key working perfectly fine. This guide walks you through recognising the warning signs, safely deactivating the anti-theft system, and carrying out the final checks needed to confirm everything is running smoothly again.
The essentials
- A rapid or steady red LED on the dashboard indicates a communication failure between the key's transponder and the vehicle's UCH unit.
- Common symptoms of an immobiliser fault include an engine that cranks but fails to start, or erratic behavior caused by faulty ignition rings or moisture-induced corrosion.
- Disabling or resetting the immobiliser requires a compatible diagnostic tool and the vehicle's unique four-digit security PIN.
- Technicians can bypass the immobiliser by reprogramming the key or resetting the UCH via the OBD port, though incorrect code entry can permanently lock the module.
- After deactivation, it is crucial to perform cold starts and check related systems like central locking to ensure the repair is stable.
- Clearing stored fault codes from the vehicle's memory after the fix is necessary to extinguish residual dashboard warning lights.
Understanding common clio 2 immobiliser issues and dashboard warning signs
Before attempting any fix, it helps to understand what your car is trying to tell you. The immobiliser is a security feature designed to prevent the engine from starting unless it recognises the correct key, and when something goes wrong, the dashboard usually gives you a clear hint. On the Clio 2, this often shows up as a flashing red light near the instrument cluster, sometimes accompanied by an audible clicking sound from behind the dash as the system attempts and fails to authenticate the key.
Recognising dashboard led blinks and immobiliser fault indicators
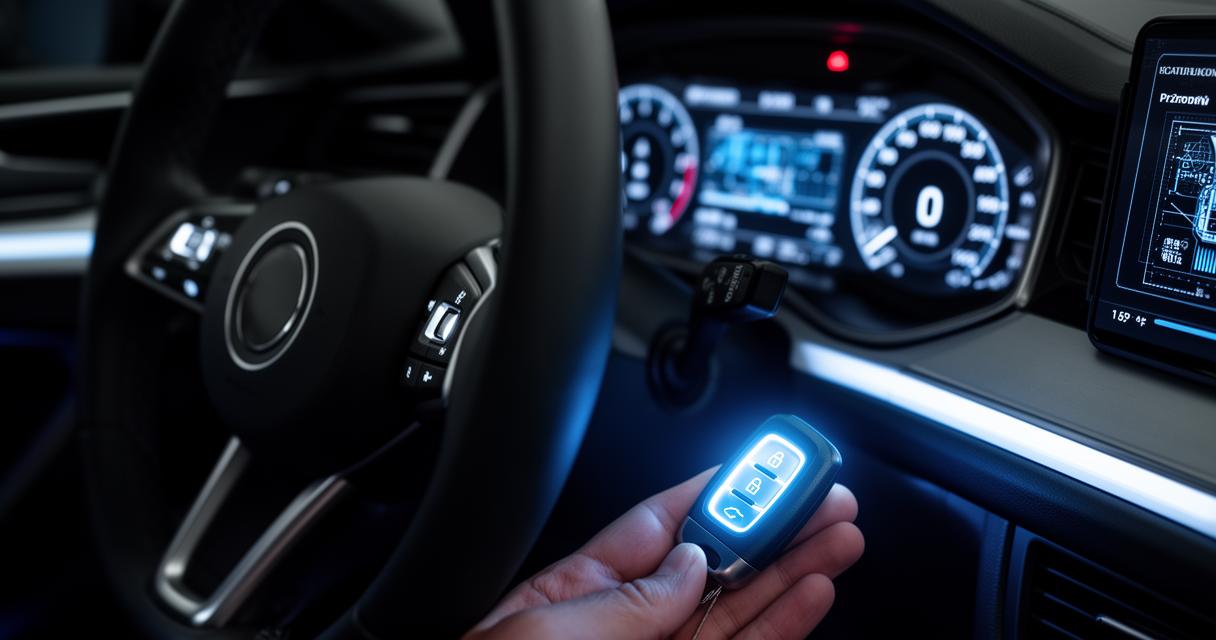
The little red LED shaped like a car with a padlock is your first port of call. Under normal conditions, it blinks briefly when you lock the vehicle and then goes quiet once the engine starts. If it continues flashing rapidly after you turn the ignition, or stays permanently lit, this typically points to a communication breakdown between the key's transponder chip and the UCH, which is the unit responsible for body control functions including the anti-theft system. Owners of the related Twingo model will recognise a nearly identical warning pattern, since both cars share much of the same electrical architecture from that era.
Typical Symptoms of Anti-Theft System Malfunctions in Renault Clio 2
Beyond the blinking light, drivers often report the engine cranking normally but failing to catch, almost as though fuel or spark is being deliberately withheld, which is exactly what the immobiliser does when it doesn't trust the key. Other times, the car starts fine one day and refuses the next, a classic sign of a failing transponder ring around the ignition barrel or a battery running low in the key fob itself. Damp weather can also aggravate wiring faults, so if your symptoms worsen after rain, it is worth inspecting the connectors near the steering column for corrosion.
Step-by-Step Guide to Disabling the Clio 2 Immobiliser System
Once you have confirmed the immobiliser is genuinely at fault rather than a battery or fuel issue, the next step is working out how to disable it safely, either temporarily for diagnostic purposes or permanently if you are dealing with a persistent electrical fault that a mechanic hasn't yet resolved.
Essential Tools and Security Codes Required for Deactivation
You will typically need a diagnostic tool capable of communicating with the UCH, such as a Renault-compatible reader, along with the vehicle's unique security code, which is usually a four-digit PIN tied to the car's identification number. This code can often be found in the service documents provided at purchase, though many owners misplace this paperwork over the years and need to request it from a dealership using proof of ownership. Having a spare key on hand is also useful, since some deactivation methods require registering a second transponder to confirm the fault lies with the original key rather than the receiver unit.
Detailed Procedures for Safely Bypassing the Anti-Theft Mechanism
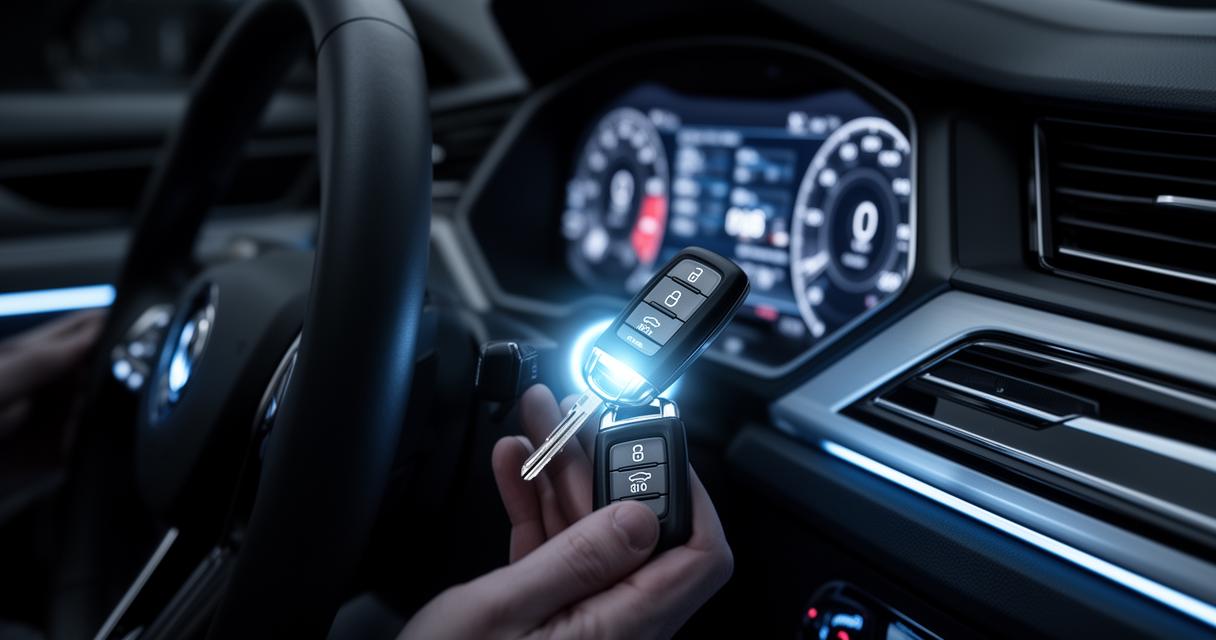
The most common approach involves connecting the diagnostic tool to the OBD port beneath the dashboard and navigating to the immobiliser menu within the UCH settings, where you can either reprogram the existing key or disable the function entirely if you are certain this suits your circumstances. Some technicians prefer a more manual route, disconnecting the battery for a set period to force a system reset before re-entering the security code manually through the ignition sequence. Whichever method you choose, patience matters here, as rushing the process or entering the wrong code multiple times can lock the system further, sometimes requiring a full module replacement to resolve.
- Locate the OBD diagnostic port and connect your reader
- Enter the vehicle's security PIN when prompted
- Select the immobiliser deactivation or key reprogramming option
- Test the ignition sequence before removing any wiring
Final diagnostic checks and verification after immobiliser deactivation
With the deactivation complete, it's tempting to assume the job is done, but a few final checks will save you from an unpleasant surprise further down the road.
Testing your vehicle's systems post-deactivation
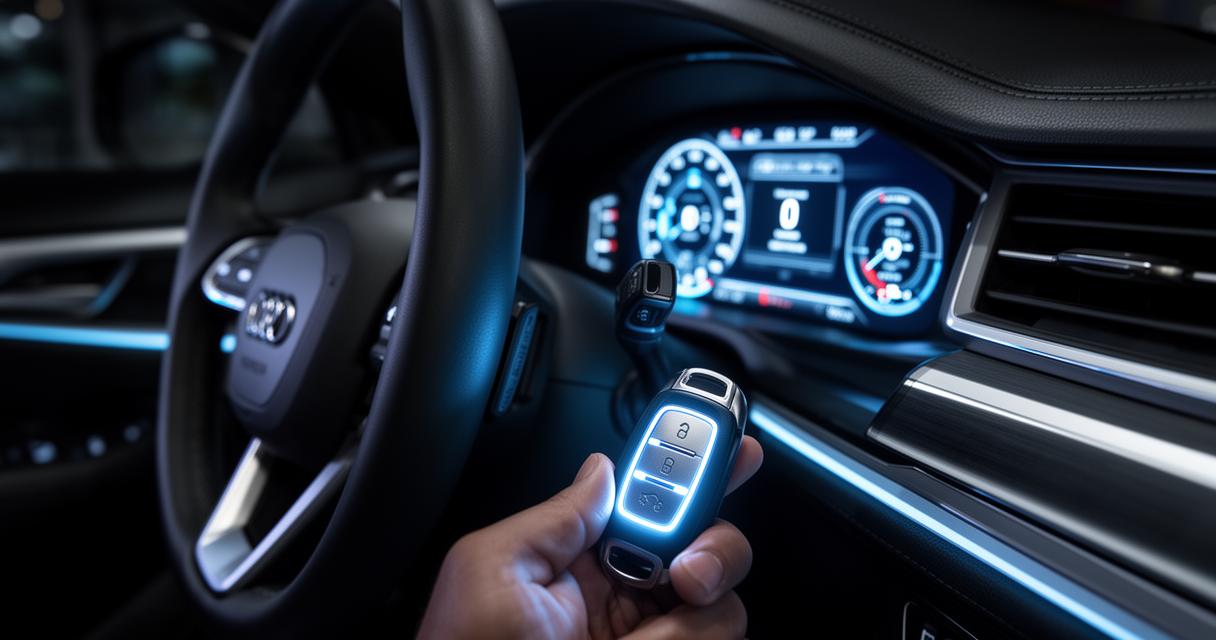
Start by turning the ignition on without cranking the engine, watching closely to see whether the warning light behaves as expected, either extinguishing completely or settling into its normal brief flash. Then proceed to actually start the car several times across different conditions, including a cold start the following morning, since intermittent faults have a habit of reappearing precisely when you least expect them. If you're working alongside other electrical systems, such as central locking or the alarm siren, give those a quick test too, as the UCH often governs several functions simultaneously.
Ensuring proper functionality and addressing residual warning lights
Occasionally a warning light lingers even after successful deactivation, which usually means the fault memory within the module hasn't been cleared. A proper diagnostic scan will reveal any stored fault codes, and clearing these manually should resolve the cosmetic issue even if the underlying mechanical fix has already taken hold. Should the light persist despite a clean scan, it may be worth double-checking the wiring harness for loose connections, particularly around the steering column where wear and tear tends to accumulate over the years. Taking these final steps seriously ensures your Clio 2 returns to reliable daily use, free from the anxiety of an unpredictable immobiliser catching you out at the worst possible moment.